Right off the bat I will admit that this recipe is no where close to
last year's in terms of Halloween-grossness. However, this one is definitely more of a crowd-pleaser, instead of a crowd-grosser-outer. So if that's what you're going for - I got rave reviews for these tasty cake balls. Granted, all of the tasters were either under the age of 10, or drunk, so take that for what it's worth. But I guess that means that whether you're hosting a childrens' party or an adult-only party, either way, these are a winner.
I've made these cake balls three times. The first time to test them out and see if I could actually do it. They passed the family taste test, so the second time, I actually made them for guests. And I took photos of the process so I could share them here. But you know what? I forgot to take any pictures of the final, finished product! I had all the steps documented, but not the final picture. Daaammmmn. So then I had one more potluck to attend, so I had to make them
one more time, just so I could get the final pictures! Only the the last time, 2 days before Halloween, the store was completely sold out of orange, green, and black melting chocolates. So.... enjoy purple and white. Here we go...
Start with a box cake, and tub of frosting. Ok, yes, you could make these from scratch, but.....who's got that kind of time???

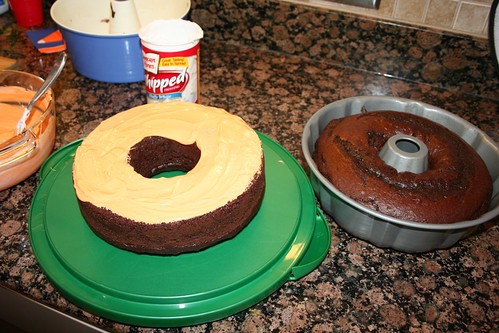
Bake the cake according to the directions, the shape of the pan you use doesn't matter. Neither does the type of cake. Red Velvet is what was in the original recipe, but I couldn't find that. In fact, I don't think I've ever had a red velvet cake. The color would have been cool, but I don't know what the flavor is. So I used chocolate.
Cool the cakes, and then dump them into a large bowl. Go ahead, do it.

Use a couple of forks and crumble them up into a big pile of crumbs.

Keep crumbling.

When it's all crumbled into fine crumbs, then you want to mix in the entire tub of frosting. I used vanilla only because I thought it was going to be overwhelmingly chocolaty if I used chocolate cake, frosting and coating. But you use what you like. I dyed one batch of frosting red, that made the end-result a lovely blood-red. But white is fine too.

Mix it together till it's a gooey mess.

Then start rolling out little walnut-sized balls. Cake-balls. Get it? I used a cookie scoop to start it out. Lay them out on a cookie sheet, or tupperware, something that has enough room to lay them out.

I used wax paper to make sure they didn't stick.

Then, stick lollipop sticks into them all. Wait, did I forget to mention the lollipop sticks? Whoops. Good thing I don't do this for a living. I bought a pack of lollipop sticks at Michael's. That's where I got the melting chocolates too. Wait, what? I forgot to mention those? Damn it. Keep reading. But before you do, stick the cake balls in to the freezer for a couple of hours to help them firm up for the next step.

OK, you'll need some of these too. Melting chocolates. Any color.
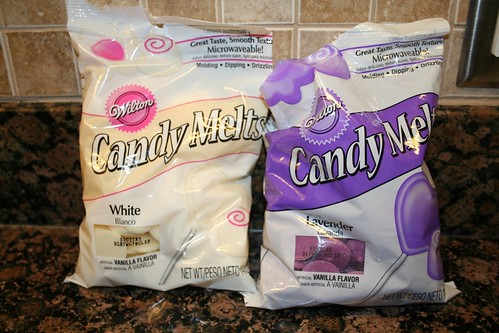
Melt them according to the instructions, in a glass bowl over boiling water in a pot will do just fine. They say you can microwave them, but I didn't try that.


Here's an important step that's not on the bag - add 1.5 TBSP of cooking oil to the melted chocolate. It makes it shiny, glossy, and spreads more easily. Trust me on this. I saw Martha Stewart do it, so it's OK. Really.
Now, you're going to coat the balls in melted chocolate. You can dip them, but I found the sticks tended to come off. Dipping them and spooning chocolate over them seemed to work pretty well.
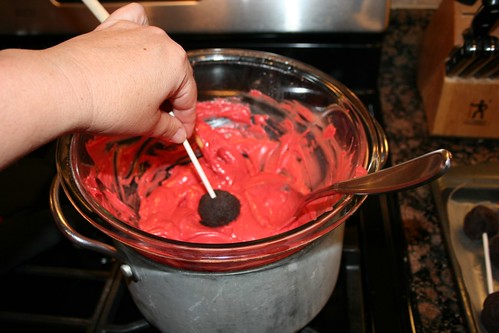
After you coat them, put them on a piece of tinfoil so they won't stick.

Here's an important point. Lay them on their sides, and don't let them touch. Otherwise, this will happen.
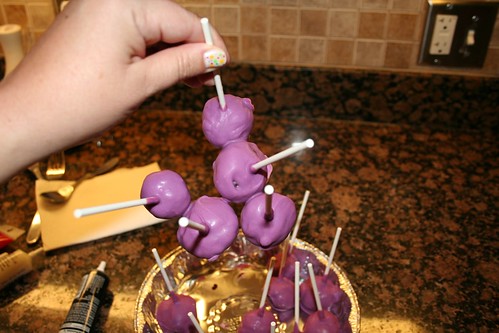
Let them cool at room temperature or pop them in the fridge for a while to harden the chocolate.
Now, decorate! Aliens:
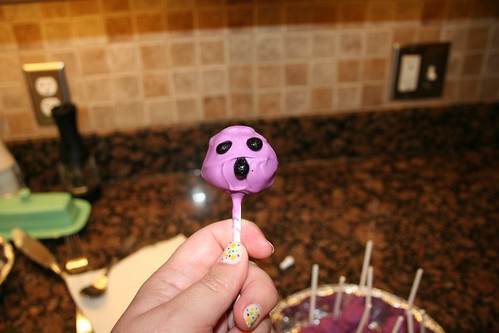
Anyone, anyone? Bueller? It's a one-eyed, one-horned, flying purple people eater! Of course.

Dracula

Plate full of cake balls!

Ghosts

There you have it. Cake balls. Happy Halloweenie!!!

Oh and in case you're wondering about my polka-dotted fingernails? I'm Twister for Halloween...but that's another story...
To give credit where credit is due, I swiped this entire recipe off of Pioneer Woman. So there. But she's a good cook, and I am not, so proof that I can make these ought to give you the confidence to try them yourself.
Here's her version.


