First up - a super-cool and extra-creepy, Spider’s Nest! For around $10 and an hour of your time, this project is guaranteed to freak out any arachnophobics (that would be me) as well as any small children in your house!
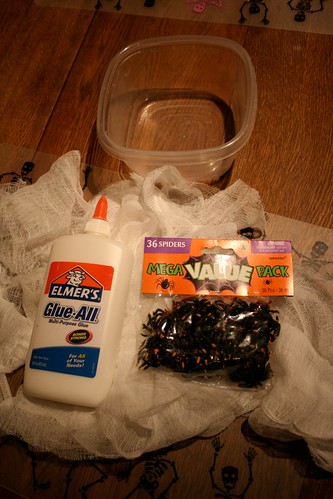
To start, the cast of characters: Elmer’s white glue, 3 yards of cheese cloth (I bought mine at a fabric store, they had it in a box on a shelf; $1.79 / yard), one large balloon (I used a balloon made for punching, it was extra large, and very sturdy – purchased 3 for a dollar at the Dollar Store), lots of paper towels for clean up, plastic bowl for glue mixture, plastic spoon for stirring, bag of plastic spiders.
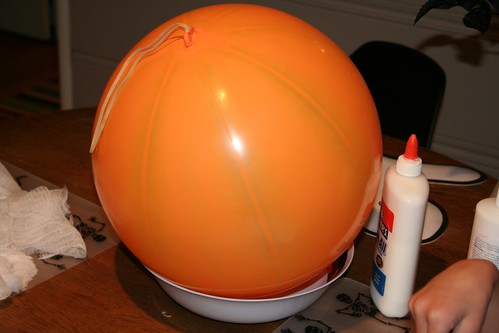
First step – blow up balloon.
Next – pour a bunch of while glue into plastic container, and mix with water to dilute it. I wasn’t exact with it, and used about 60% glue and 40% water.
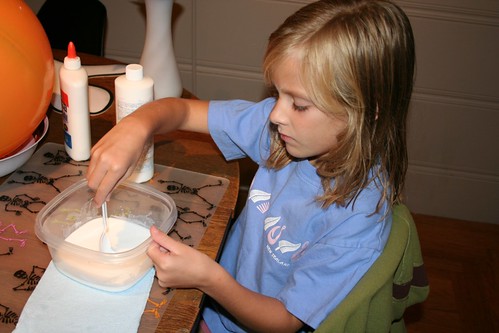
You do need to mix it thoroughly though. I recommend enlisting a 7-year old for this task.
Next, cut the cheese cloth into strips. Mine were approximately 3 inches wide (a quarter of the width of the cloth) and 8-12 inches long. I started off with much longer strips (18 inches) and they were very hard to work with, shorter is definitely better with this.
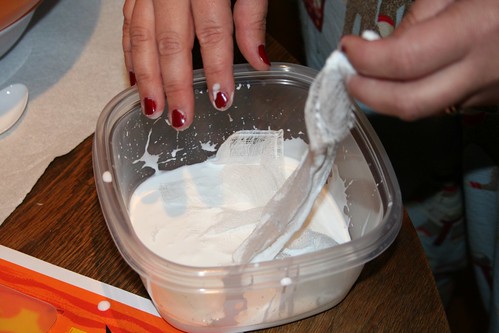
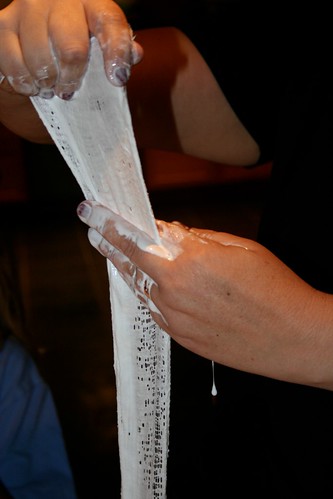
Dip the cheese cloth into the glue mixture. Pull it out, and squeeze it between your fingers to get rid of the excess glue.
Put the balloon in a plastic bowl, large enough to hold it, and start draping the cheese cloth strips around and over the balloon.
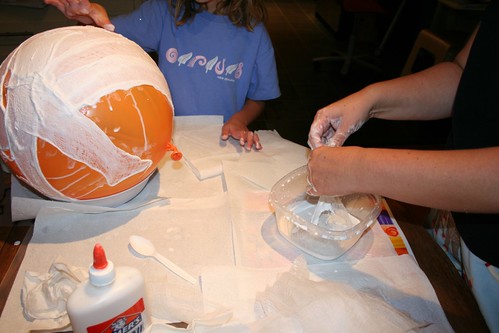
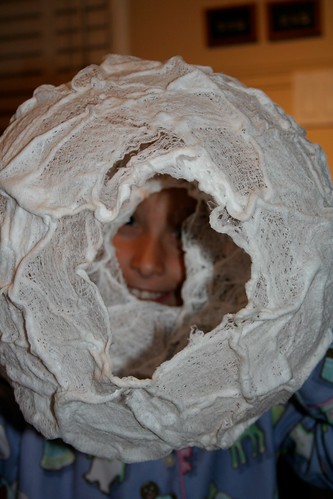
Continue draping the strips around the balloon. Don’t cover every inch; you want to leave a small hole at the top and bottom, as well as some small holes scattered around the balloon in random places.

Do not allow the 7-year old to lick the spider’s nest.
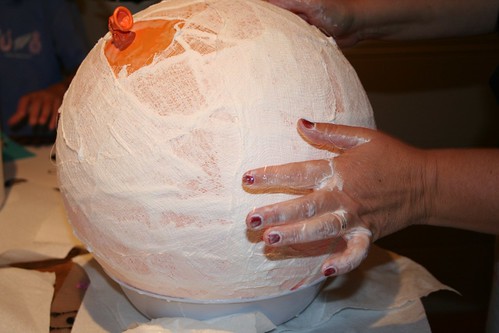
Continue wrapping the balloon, overlapping pieces of cheese cloth until it’s nearly covered. Uniformity is not desirable here, some places should be thinner than others.
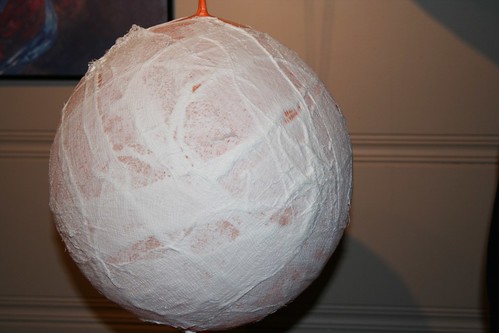
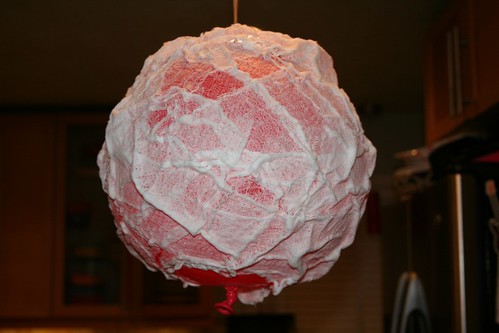
When the balloon is nearly covered, you’re ready to hang it to dry. Because this was a punching bag balloon, it came with a large rubber band, convenient to hang it with.
Here’s a tip I didn’t get a photo of. Do not hang your balloon outside to dry! Why, you ask? Do you remember 7th grade science? Yes? Well then, what does air do when heated? It expands, right? And if cooled? It….anyone? anyone? Bueller? Bueller? It....that's right, it contracts!
It happened to be a very cold night when I did this project, and, not remembering 7th grade science, I hung the balloon outside in case the glue dripped. You know what happened? Yes, the glue did drip on the deck, but what was worse was that the cold air caused the air molecules in the balloon to contract, and when I came out in the morning to check on it, the whole thing was shriveled up and looked like a football with most of the air let out of it! I untied the knot in the balloon and tried to re-inflate it, but then it popped! At this point, I was glad the balloons came 3 in a pack, and pulled the popped balloon out of the cheese cloth shell, which was still pretty soft. Then I shoved a new balloon into the cheese cloth and blew it up. It actually worked and the project was saved! However, then I had to tie a knot in the new balloon which was covered in slippery glue, and kept sliding off my fingers. It took more than ten tries to get the damn knot tied again. So what’s the lesson in all this? Do not put the balloon outside to dry! Hang it somewhere inside, but put something under it to catch the dripping glue; I recommend a plastic bag.
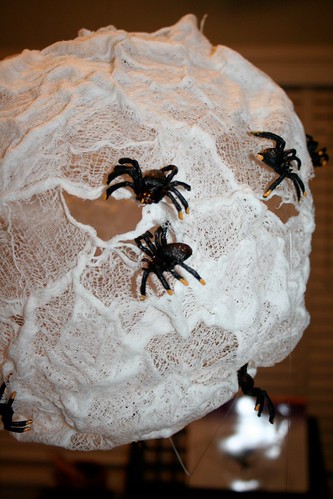
Moving on. 24 hours later, the entire thing should be dry. Mine shrunk and wrinkled quite a bit. I don’t know if this was because of the outdoor adventure, and replacing the balloon mid-way through or not, but I liked the effect.
When it’s entirely dry and hard to the touch, either pop or deflate the balloon. Then, make your oh-so-willing 7-year old model the spider nest.
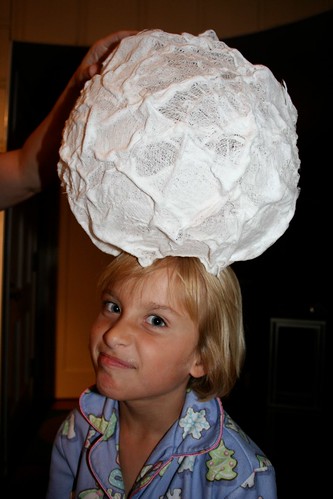
You’ll be amazed at how hard the glue drys everything.
Next come the spiders. I bought a pack of 36 for around $2. What a deal.
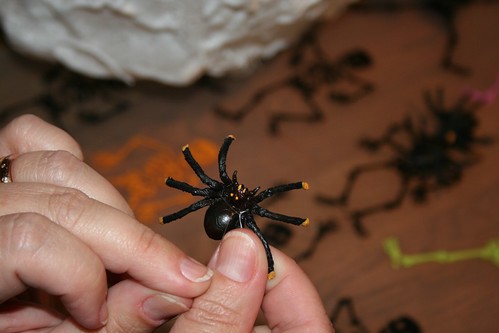
Have I mentioned that I absolutely hate spiders? I do. It’s amazing that I made this project. Especially ones the size of these plastic ones – nothing is worse! Maybe doing this project is therapeutic or something?
Be sure you don’t neglect your children during this involved project. It’s important to ensure they have proper nutrition. Like ice cream drumsticks. That’s a dairy food, right?

Stick the spiders into the nest, stuffing their little plastic legs through the hardened cheese cloth, like so. If they won’t stick on their own, a glue gun comes in handy.

Now comes the extra-creepy part! Tie some spiders to fishing line, and tie that to the nest. I shoved a long piece of mono-filament through a hole in the nest, and then tied a spider to that, then let it fall back through the hole, so there was a spider on the inside of the nest anchoring the line of spiders hanging outside the nest.
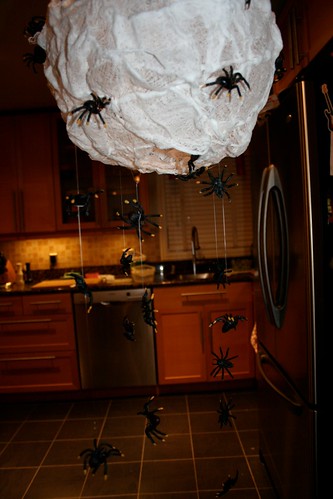
Once you’ve used all the spiders, inside, outside, and hanging from the nest, position it somewhere super creepy. Ours is hanging above the dining room table for now.
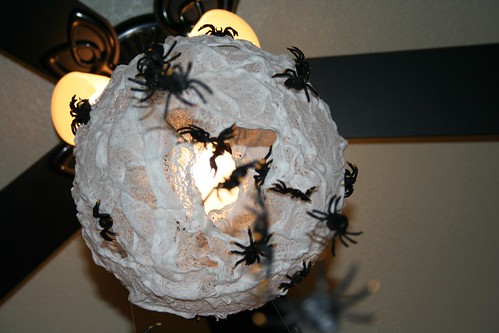
We plan to add more spiders to the ceiling and the line hanging it from the ceiling once it’s in it’s final position.
Try it at home, it’s really spooky! Enjoy!
No comments:
Post a Comment